Setup Cortana in Windows 10
Microsoft’s Cortana is making a jump from Windows Phone to Windows PC. First introduced with Windows Phone 8.1, Cortana is Microsoft’s digital personal assistant and is more than just a search tool. The name derives from the holographic artificial intelligence character in the popular Halo game franchise and the comparison between the two is more than skin deep.
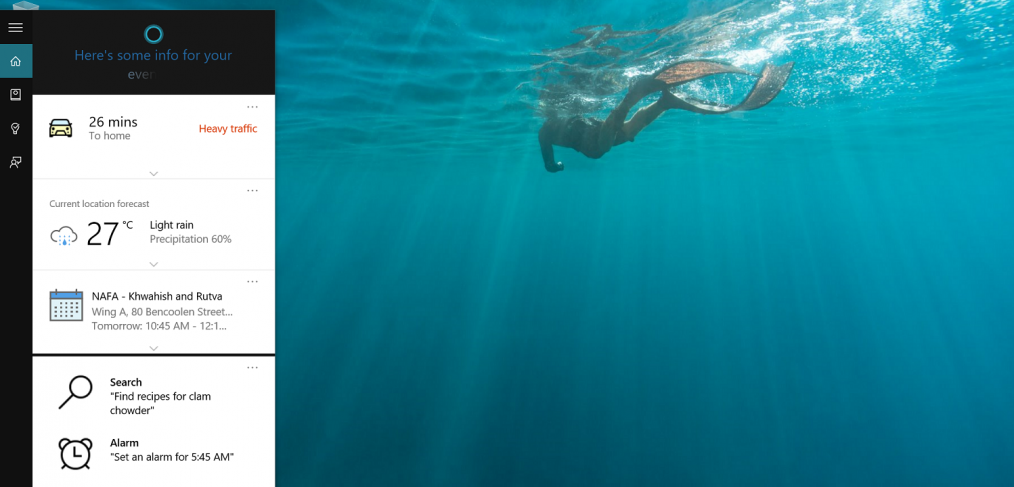
Cortana is more than just a search engine with some flair, for instance, here are few things the assistant can perform:
[smartslider2 slider=”11″]
Many of these are referred to as “Interests” and they are filed under Cortana’s “Notebook”, which lives in the cloud. The language is meant to evoke a secretary working for a boss who must keep notes on your likes, dislikes, and general preferences. Just like a real notebook, users can access it and delete or modify any information they do not wish to share with Cortana.
This control over information and privacy is one of the things that set Cortana part from Google’s services, which are more convoluted for data control.
Cortana’s notebook is linked to your Microsoft Account and floats, meaning whatever Windows 10 machine you log into it has the same Cortana experience. If you already use Cortana on Windows Phone, the same experience passes to Cortana on the desktop and vice versa.
What makes Cortana exciting is the utilization of ‘Hey Cortana’ an always-on optional system by which a user can verbally call for the assistant using a desktop microphone (or a laptop’s built in one). It uses natural speech, so you do not need to memorize commands like in the past. If users prefer, they can also bring up Cortana with a Win + C keyboard command for a quick search. It is an efficient system but if you have numerous Windows 10 devices around saying ‘Hey Cortana’ could cause a small ruckus. I a sure that can be easily managed:)
Check out below CNET Tutorial on How to Setup Cortana on your new, shiny, Windows 10 PC.


